We can continue on and on with so many different, unique and amazing nail art designs but it is beyond the scope of this article. You can even use your own creativity to formulate some designs on your own and if they turn out well, do give them a try. Hope you found this article meaningful and useful
1. Painting with a brush
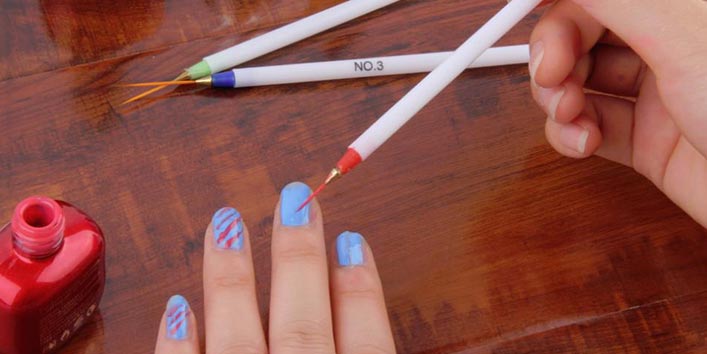
A variety of brushes can be used but the one which is most suitable is the one with synthetic bristles. You can use different types of brushes, angled, line, flat, dotting, detail etc which can help constitute the different types of beautiful nail patterns.
2. Sponge Bobbing
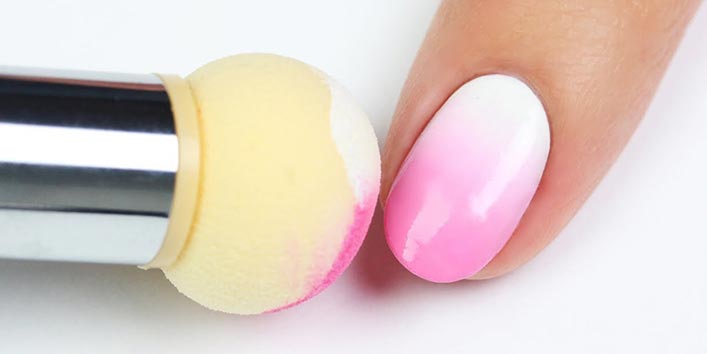
If you want gradient and achromatic type of design on nails, use this technique. The finishing you will get after the use of sponge would be sprinkled and slushy. Any type of sponge can be used, art, paint or makeup or anything else depending on the design expected and the effect required. When the base coat is applied, it is left for drying. And then sponge is used with nail polish and applied on the nails. The sponge can be positioned according to the design you require. For removing extra edges, use acetone.
3. Stamping
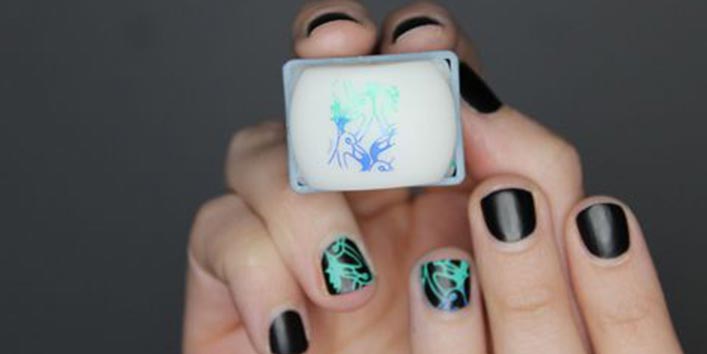
When we talk about nail stamping, the image printed on the nail should be covered by stumpy layer of nail paints in the image plate. Then use scraper across the nail so that nail polish can be seen in the pattern as a residual.Then use a stamper in oscillation to cream the image and then the image is systemized on the nails.
4. Taping
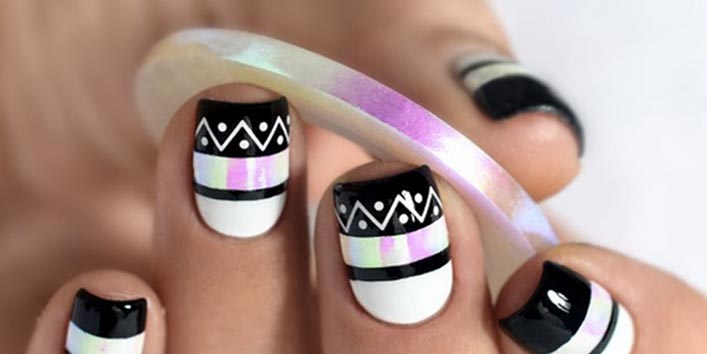
Apply a base color on the nails. Then cut the tape in smaller pieces and apply it on the nails. The tiny pieces of tapes should be applied in those areas which need to be left in the base color. Then apply another coat of color you want to apply on the unified nail. Remove the tape gently.
5. Digi World Nail Art
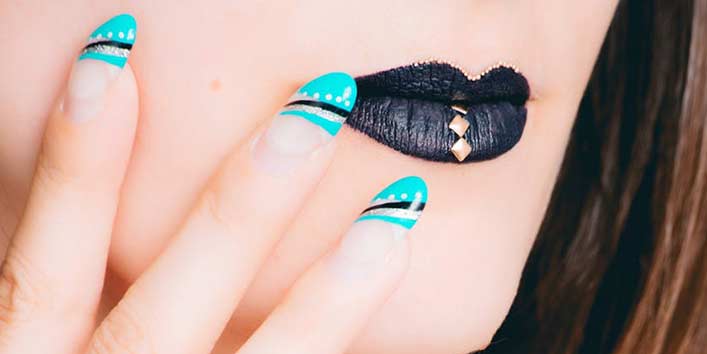
These days there are digital nail art machines which are used by therapists or beauty salons. It is an automated procedure and it is not very time consuming to get the nail art look you desire. You could even get scanned photos or pictures from cameras to get them printed on the nails. The machines are very expensive ranging somewhere between 2000 pounds to 5000 pounds.
6. Stencil Method
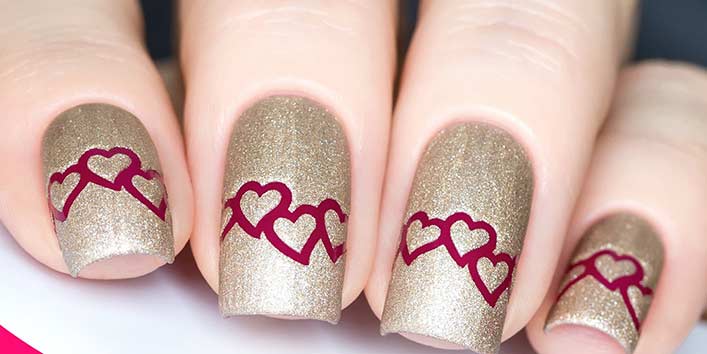
Make use of stencils implanted on dry coat of nail polish and works as the background for the stencil image. Place the stencil strictly against the nails. Similar to taping, wherein the entire nail is painted with a different colored nail paint. After sometime when the stencil dries, it is removed and creates a pattern on the nail similar to the stencil.
7. Airbrush Nail Art Technique
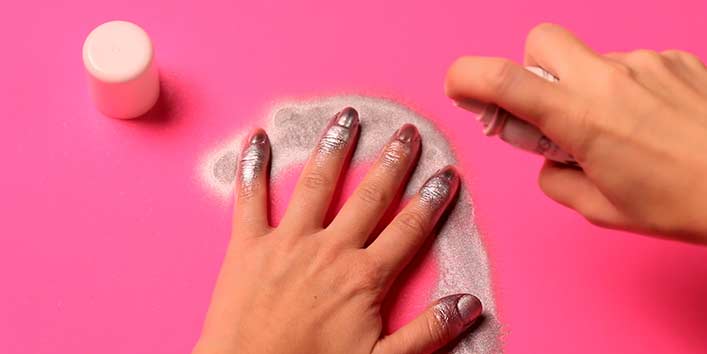
Airbrush machines can be used for drizzling paint on the nails. Combine them with stencils and stickers to get the look you desire. Apply the base coat first, then the stencil is allocated on the nail and then the airbrush machine helps in painting wishful design. Then the stencil is removed and acetone takes out the paint in case it got split.
8. Nail Art Stickers and Decals
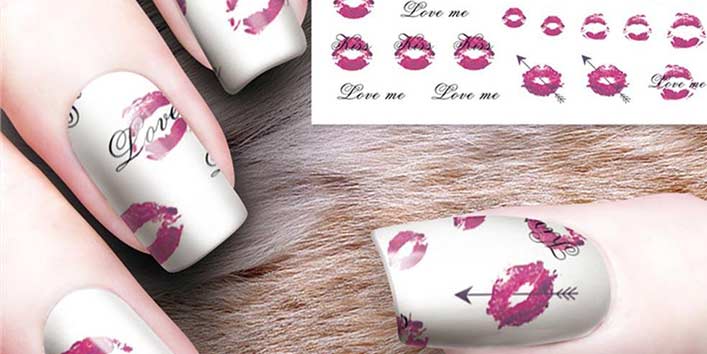
It is another funky way to embellish your nails. There are so many varities of these on the market so you won’t have a tough time choosing them. But what you should be careful about is the placement of the stickers and decals on the nails. You could even add a tattoo, glitter, jewel as a style statement for your nail art.
9. Splatter Nails
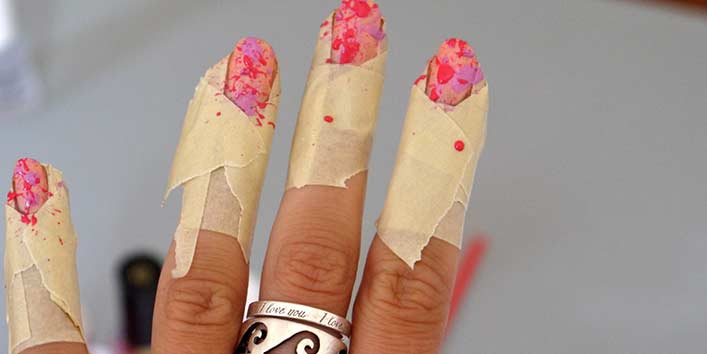
Use a fan brush stroke for splatter nails. You could even use a toothbrush for similar effect. Get a splashy, colorful, cool nail graffiti look and avoiding mess from the paint.
10. Water Marble Nail Art Technique
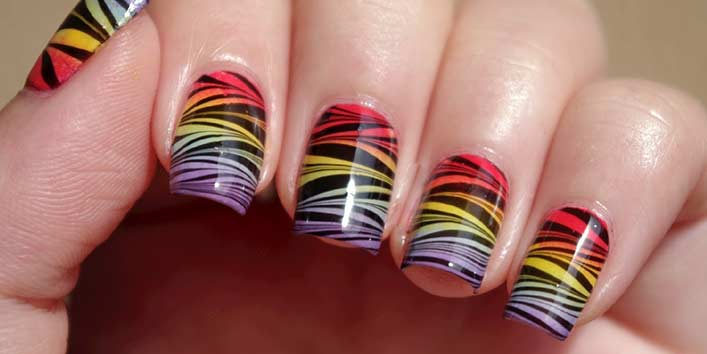
In this technique, nail veeners are dropped in crystal clear waters and a pattern is constructed on the surface of the water. This gets deported to the nails. You can make many designs from it.
11. Sharpie nail art
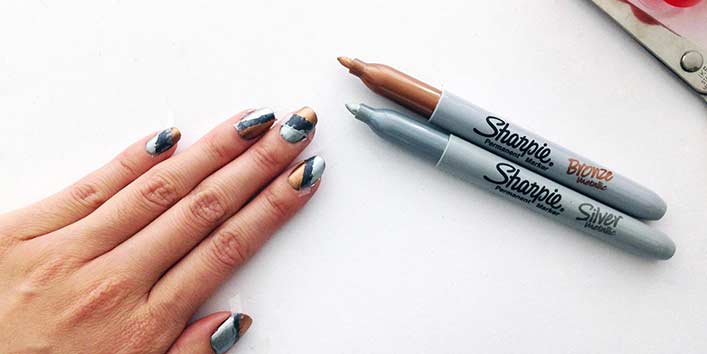
They resemble watercolor paintings. They look amazing. If you do ot have a dappen dish, write erratically on waxed paper or a plastic sandwich bag. But ensure that it gets dry fully before you finally add the top coat. Otherwise everything will be smudged and you will be wasting all your time and energy.

